ionic.zone - a site about all things Ionic
-
First published: August 2017
Create your remote app
Before you installed fastlane and created a local Appfile and Fastfile. The next step is to create the remote apps that will be used to upload metadata and app binaries into later:
iOS
We can use fastlane produce to create our app in iTunes Connect and the Apple Developer Center. It asks for the app_name and then just goes ahead and uses the information it gets from the Appfile (and the saved credentials) to create the app remotely:
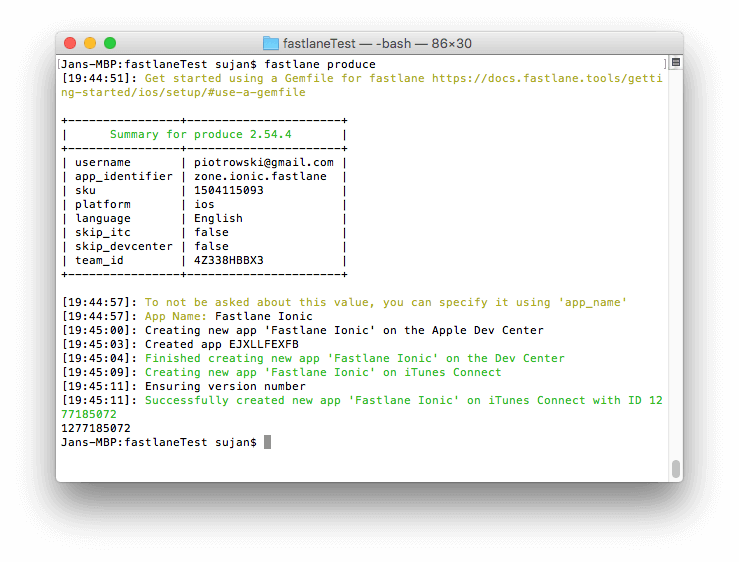
Check “My Apps” in iTunes Connect and “Identifiers” => “App IDs” in the Developer Center to confirm.
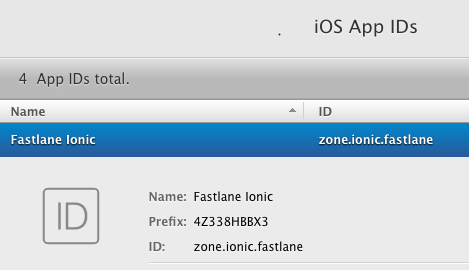
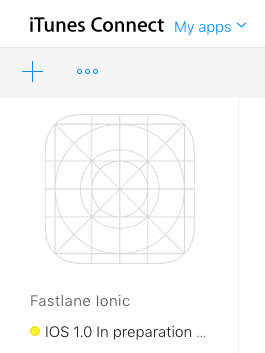
That was easy, wasn’t it?
Android
Unfortunately an Android equivalent of produce doesn’t exist. The Google Play API doesn’t support creation of apps, so we have to get manual for Android.
Create app in Play Console
Open Google Play Console and hit “Create Application” and use the app_name from before.
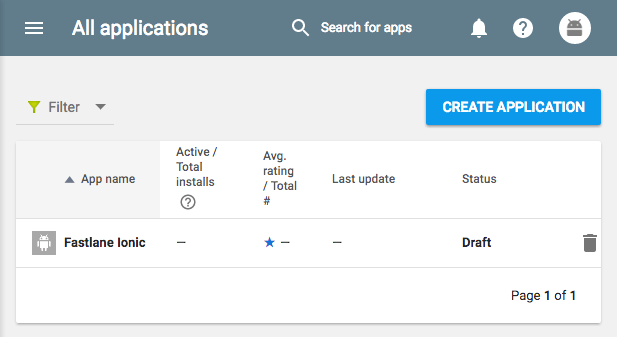
(You don’t have to add any other data yet - we will do that later with Fastlane.)
Upload initial APK
To connect this new app (that for now only has a name) to your package_name (which Fastlane will use to identify it) you have to upload an initial APK file to the Play Console manually. It will not actually be published (and you can do that in the “alpha” distribution group), so no harm done.
Go to “App Releases” -> “Manage Alpha” -> “Create Release” and “Upload APK”. You will have to upload a proper --release build of your app that you build the normal Ionic way once, manually. (It is enough to upload, you don’t have to click “Review”.)
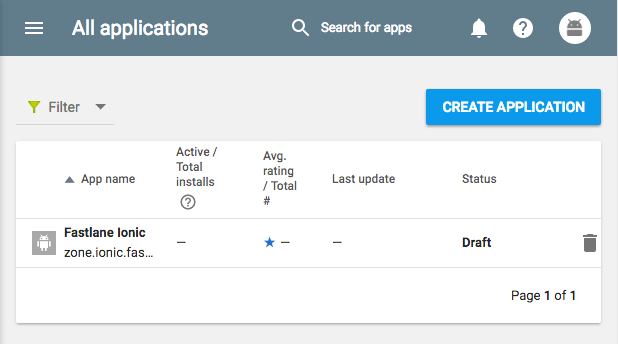
Going back to the initial list of applications in the Google Play Console it should now list the package_name under your app’s name:
Done
Now your app is created in both remote administration interfaces. Your local setup has credentials to connect to both APIs. On to create a local file structure that represents the metadata.
-
First published: August 2017